After another long gap I figured I'd throw up a few pictures of my progress. This project should start to move along more quickly now as fall the fall rains set in and my times relegated to the garage.
First off, my crank and cylinders are back from my machinist. So off we go with fresh bores and a fresh crank!
But first, we of course have to paint the cylinders
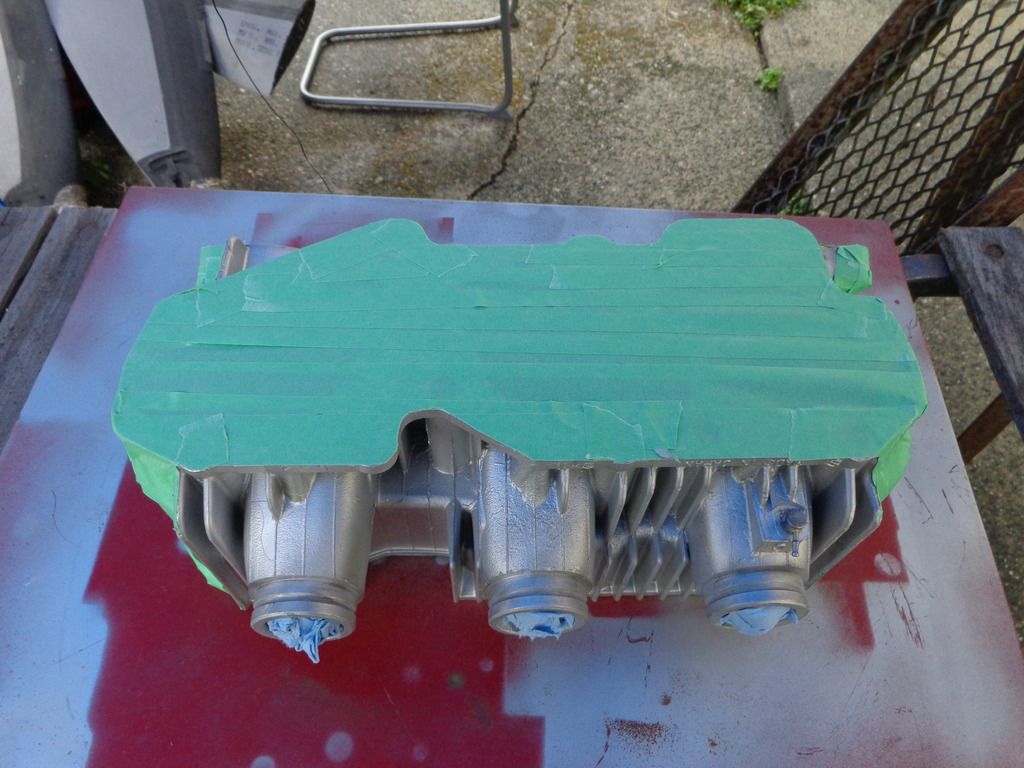
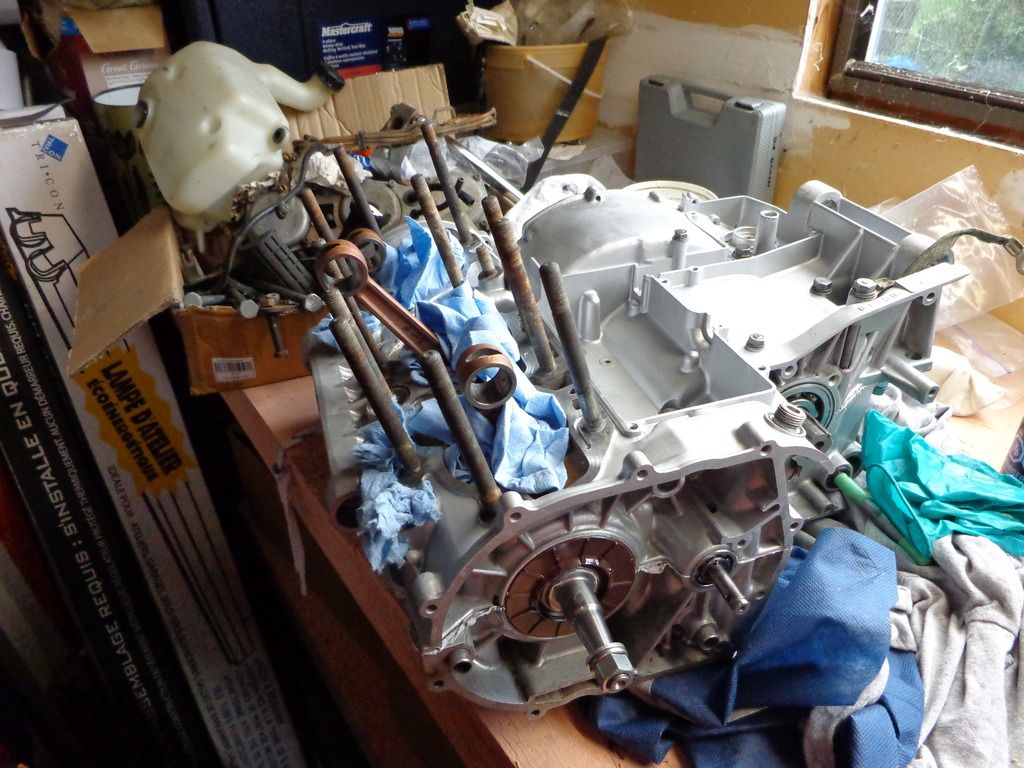
Naturally the head got a coat of paint too, but I didn't snap a picture of that. I'll let you use your imaginations to picture how it turned out. While the paint was drying I decided to put together the bottom end of the engine. Finally all the bits are there!
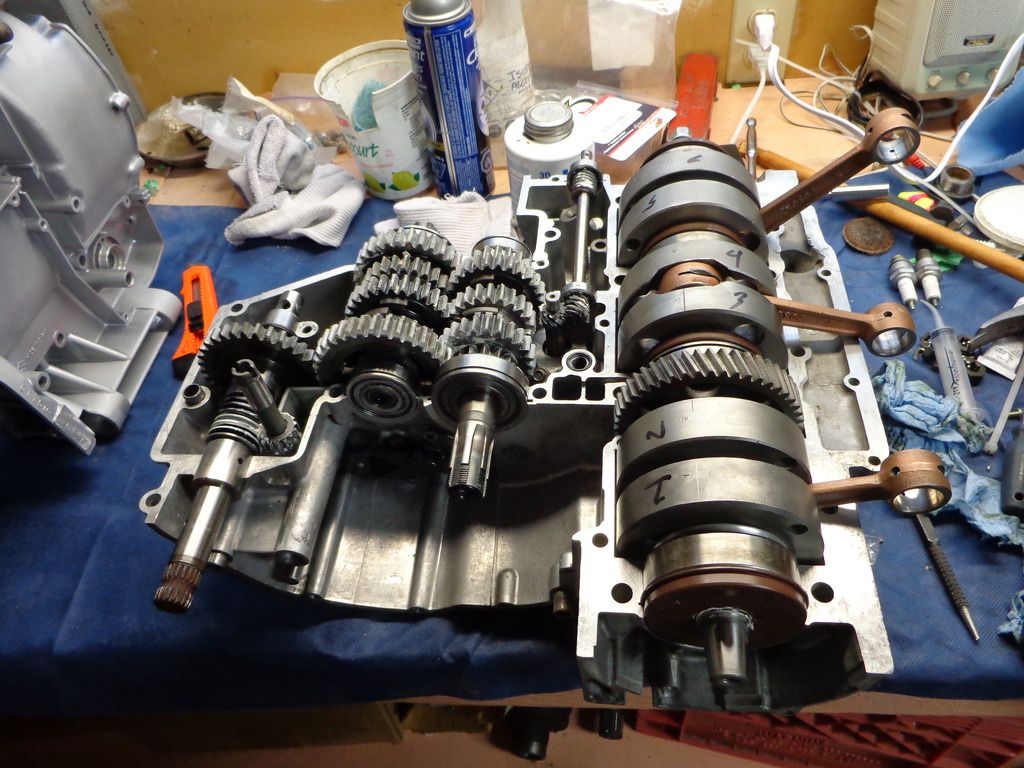
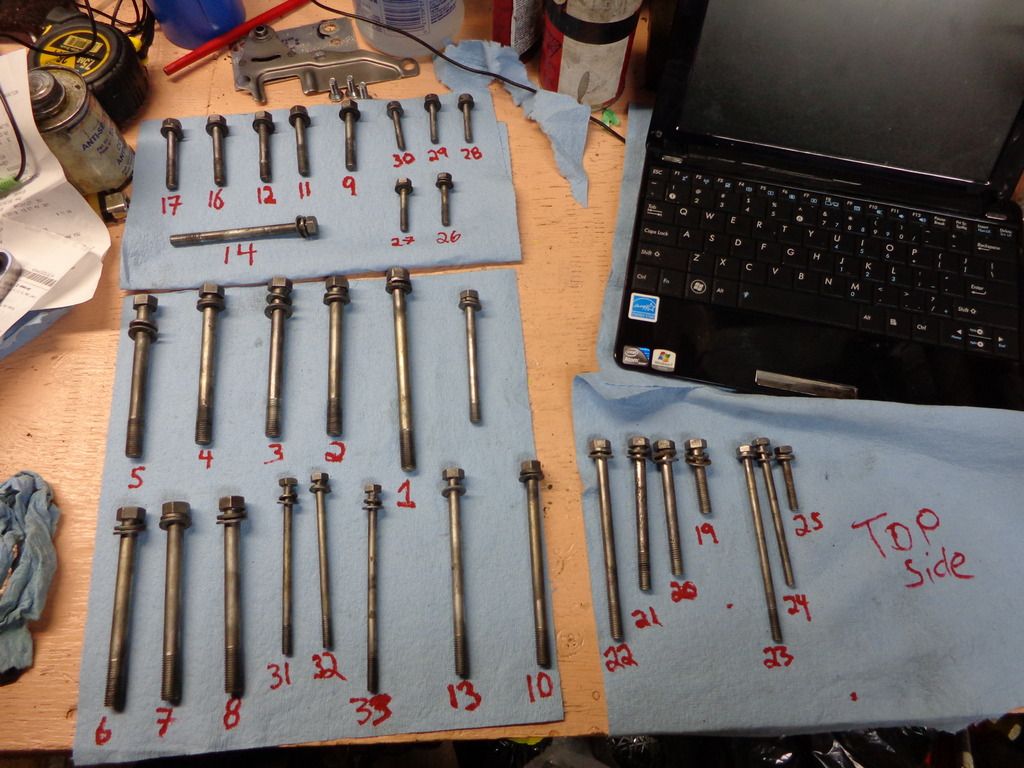
Nothing left to do but bolt it together
Ahh the sight of a freshly rebuilt bottom end, it makes ya proud
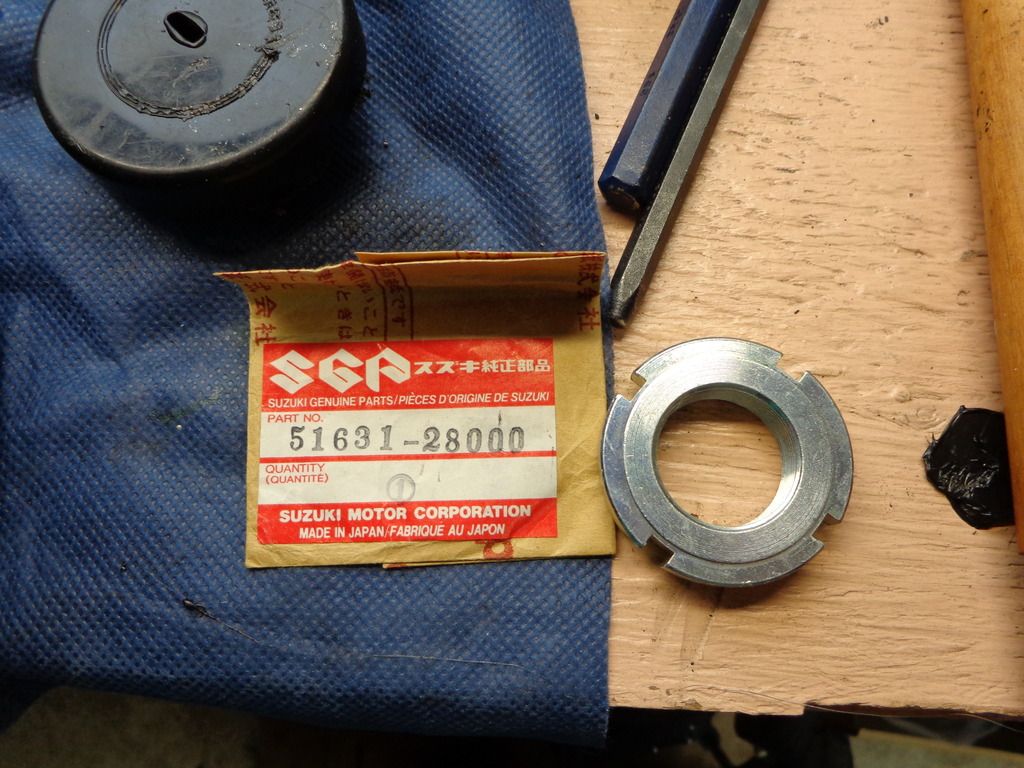
Of course, no restoration project would be complete without a little bit of let down. I discovered that I seem to be missing the cap and plug for the end of the transmission shaft, damn it all....
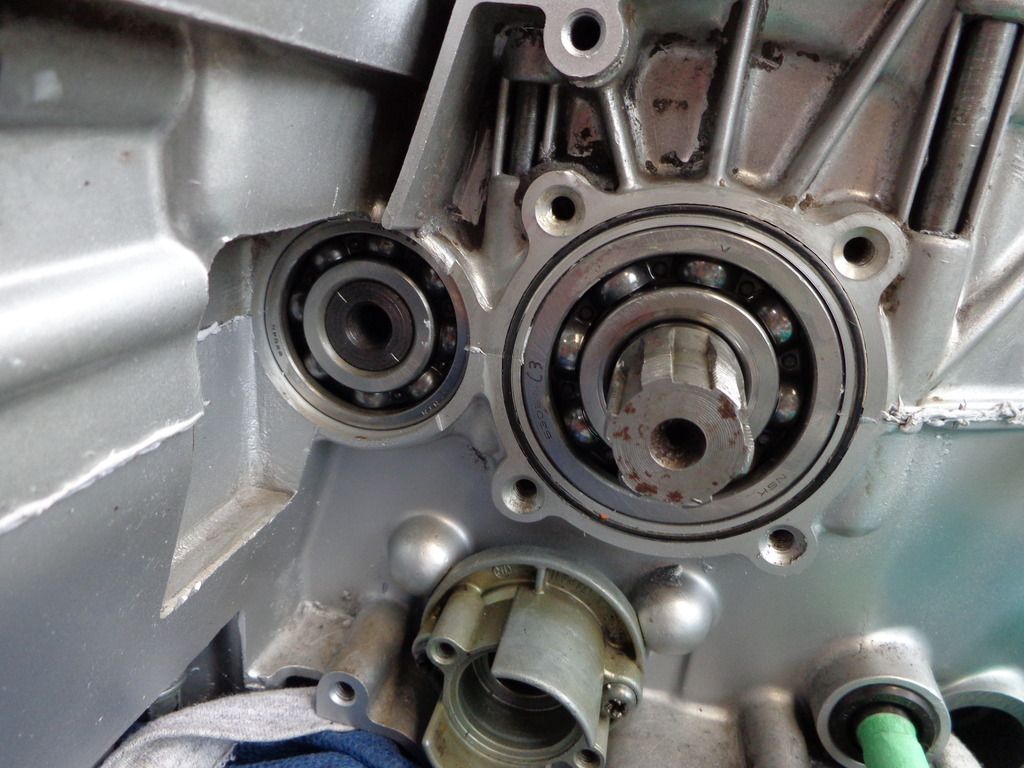
It also seems from the research I did at this point, that there should be a plug in the end of the kick start shaft as well... Of course I have no memory if it was there or if it wasn't when I put it together..... but I'm not pulling it apart now....
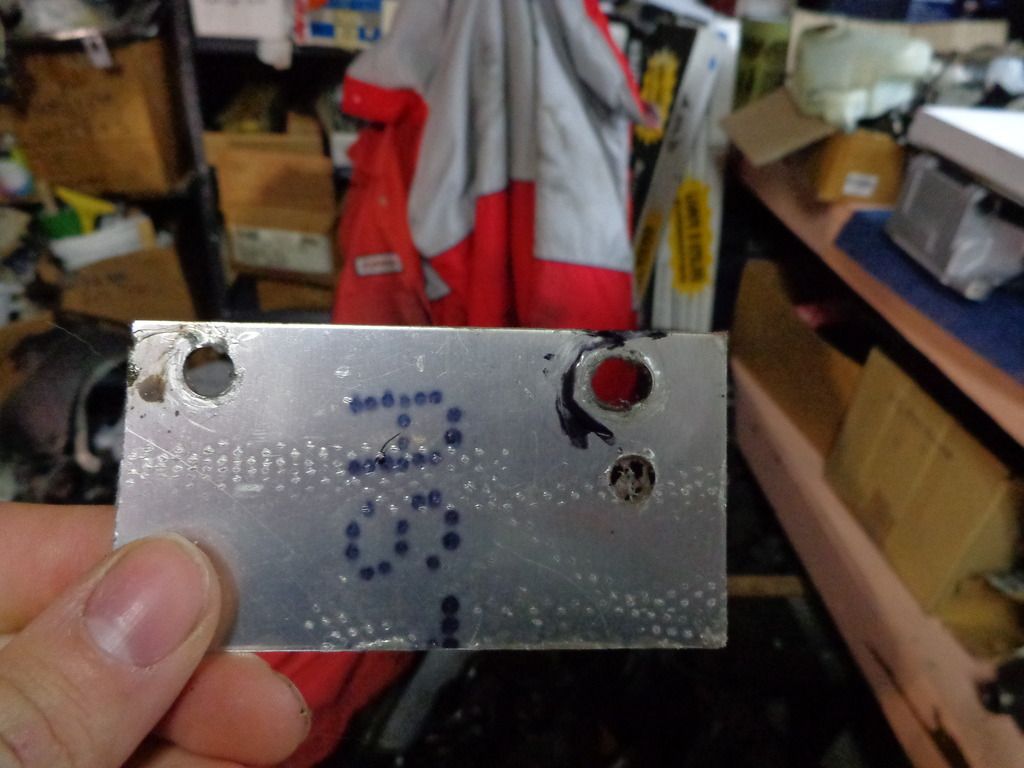
So I'm now hunting down a plug and a cap since the parts are NLA from Suzuki.
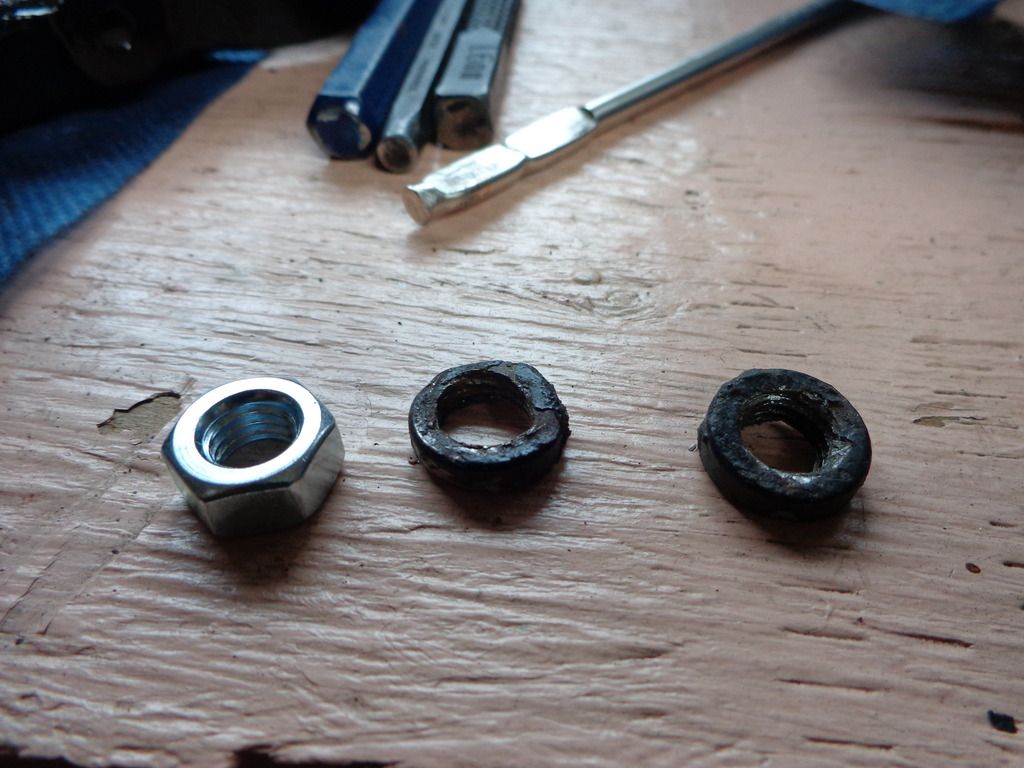
Another issue I had was the top two radiator mount bolts had snapped off in the front of the frame. I had somehow forgotten about these when I had painted the frame *sigh* So after drilling them out, managing to get one side serviceable, and then of course snapping the el cheapo tap off in the hole I left it there for the day.
So after much thought it became clear that a new repair would be necessary. I managed to get most of the tap out, but not enough to allow me to go in with a new tap... So I decided I would cut the nubs off and weld on a nut. So I made myself an alignment jig and got to work.
Here's the very technical jig I made. I used the one side that had a few threads left to hold it in place while I fixed the other.
The two sections I cut off and one of the nuts I would be welding on it there place
The finished product, not bad for a beginning welder.

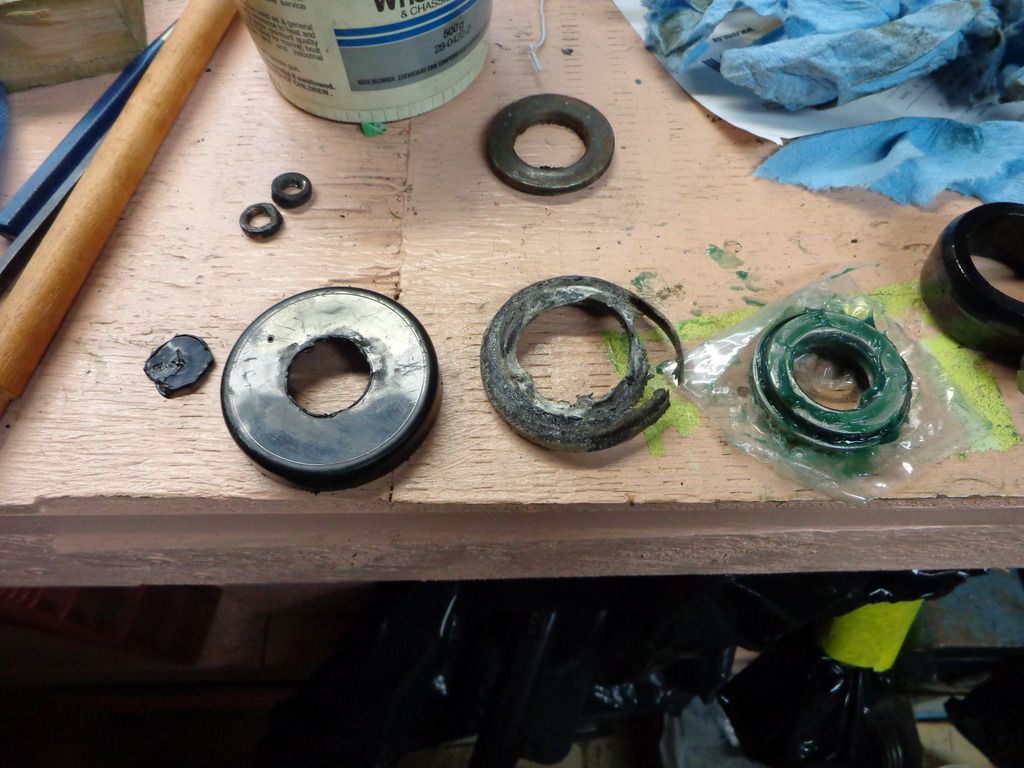
Then there was the last task of the day. I had to make a new cap for the steering head bearings. The original one had melted when I was trying to get the very stuck steering head nut off with a torch.
It turns out that it’s the same diameter as the cap off of one of my aerosol cans. So I cut it down and melted a hole in the middle of it. Looks pretty good, hopefully it’ll do the job.
Here’s the new nut I got off of ebay, much nicer than what was left of the original after I finally got it off. Seems a shame to hide it away since its so nice and shiny.